How I Organize My Makeup Collection
(with a FREE downloadable Makeup Inventory template to get your organization game started, at the end of this post!)

I just did a reorganization of my makeup space and making sure everything has it’s place.
In an effort to be more mindful of my purchasing habits and make the most of my collection, I find it good practice to be aware of what I have and find a place for them so they’re visible. After a makeup session sometimes products get a little all over the place, or after a few shopping trips some items gets pushed to the back of the drawer and we forget it’s there.
So setting a little time every week or so to put everything in its place can make you see just exactly what you have and what to make do of it. Is there a palette that inspires a look? A blush you want to declutter? A highlighter you’d like to use more?
Having a place for everything helps us to be more aware about what we have. In turn it also makes better decisions for any purchases we’d like to eventually add, so things don’t just get forgotten and pile up. Also- it’s soo much more fun and faster picking out items when doing makeup sesh, because you can see where everything is!
If you haven’t already, I hope the tips I present in this blogpost inspires you to do a little makeup organization too! Time to get our organization on.
1.Take all your makeup and lay it all out in front of you- all of it.
Prior to my reorganization, my makeup kind of lived everywhere. Some in my bathroom, some in makeup pouches, purses, drawers, the living room table- you get the picture. So the first thing I did was to take all of the makeup that I own, and lay it all out on the floor. It felt like the pile was growing bigger and bigger at one point and looked like a hoarder’s nightmare, but it was also eye-opening and therapeutic at the same time.
2. Sort, Declutter & Clean
Now that you have all of your makeup in front of you, it’s time to do some cleaning- both physically and emotionally. Get some wet tissues or sanitizers and take time to wipe down each makeup item. Whilst you’re doing so, take a look at each one and decide whether it’s something you’d like to keep, or let go. I like to make three piles when I start. Keep, Undecided, Declutter. And then in the end I’ll go back to the undecided pile and sort again.
Questions to help you decide whether to keep or declutter:
If it’s expired or outdated, then it’s time to let go. If you don’t want to throw it away in the bin, there are sometimes places that are open to receive expired makeup i.e. funeral homes, where your makeup can be used.
If it’s something you regularly use/ love / a collector item that makes your heart zing even if it’s still untouched, then keep it.
If it’s new / unused / or slightly used but you no longer see yourself wearing it, then it can go to the declutter pile. From there you can decide whether you’d like to give it away to friends/family or donate.
3. Categorize Your Makeup
Once you’ve sorted through and decluttered your makeup, it’s time to categorize the makeup that you’re keeping. This will make it easier to place them, for when we’re storing them.
I like to keep it simple and categorize by product type i.e. face products, eye products and so forth. Then if I see I have a sizeable collection in one category I then proceed to go into sub categories such as Foundations, Concealers etc.
Here’s a few category ideas to get you started:
Foundations
Concealers
Complexion Powders (Compact or Loose)
Blushes, Bronzers, Highlighters
Face Palettes
False Eyelashes & Lash Glue
Eyeshadow Palettes
Eye Products (Mascara, Eyeliner, Brow Pencils)
Lipsticks/Lip Glosses/Lip Balms and other Lip Products
Makeup Brushes
Makeup Tools (sponges, lash curler)
4. Take Inventory of your Makeup
(Don’t miss the Downloadable Makeup Inventory Spreadsheet at the end of this post!)
For beauty content creators / beauty bloggers / beauty enthusiasts such as myself who’s collection can be quite extensive, or for any beauty lover who would like to be more mindful of their makeup collection and purchasing habits, taking inventory of your makeup is such a valuable activity to do.
Taking stock of what I have keeps me aware on what’s on hand, and is also helpful when it comes to my content and review work.
As I take inventory, It also let's me know of what is working and what’s not at a given time as it refreshes my memory on why I purchased it, or why I love using it. Also sometimes it makes clear that I have enough peach and pink blushes, so when I do want to purchase another, I may try out another color of blush.
I usually do this on an Excel Worksheet. If you want to start keeping one yourself, I’ve created a Google Docs spreadsheet template for you to use that’s available for you to download at the end of this post. Remember to save it to your own hard drive so you can edit it! There is a tab in the file called “READ ME” which details how to do so.
The file also already has some presets for colour family and finishes to get you started.
Let me know if you do decide to use it!
5. Make Use of Makeup Organizers

So now your makeup’s categorized and taken note of. It’s time to give each category a home. I use a mix of acrylic makeup organizers and stackable drawers to keep my makeup.
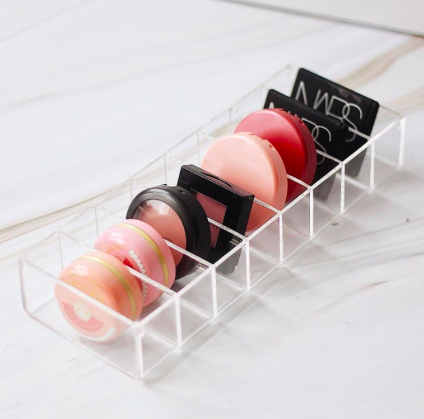
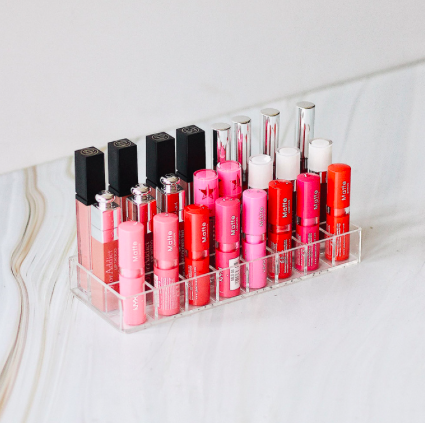
Acrylic Organizers
Here are the acrylic makeup organizers I use that I purchased from Tokopedia / Shopee (Indonesia). Click the image, and it will direct you to the Tokopedia shop. They have a large variety of acrylic organizer designs, so choose one that fits your style and needs for your makeup collection.
I use them to organize my compact cheek products, lipsticks, makeup brushes and the large one to house my complexion products and various liquid products. And I like that they have sections and partitions so it’s easy to organize and reach for the products. It’s also great for visibility.
Click the Images to Shop Acrylic Organizers
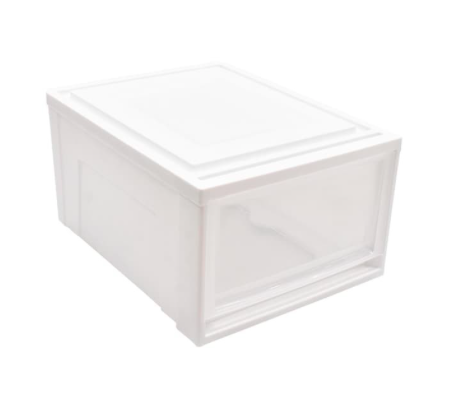
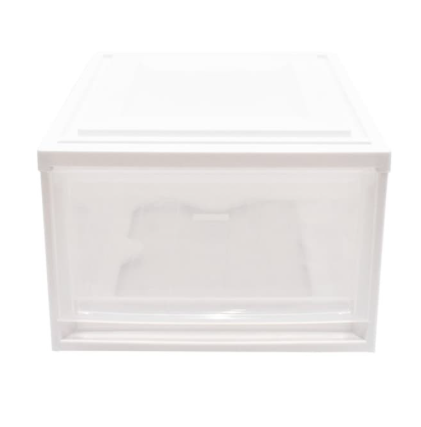
Stackable Drawers
These are the stackable drawers that I use. I purchased them from Ace Hardware. It’s available in their offline and Tokopedia store, too.
You can also use Alex drawers or regular drawers in your room that isn’t used, which is where my makeup once was. But since at the moment I don’t have a large beauty room, I wanted for my makeup to be in one area altogether. And these stackable drawers (though not the prettiest) fit just fine in the space I had, and was spacey enough to house my makeup.
Click the Images to Shop Stackable Drawers

6. Take Inspiration from my Makeup Organization
Here’s what all my makeup looks like in their designated spaces, and how I use the acrylic organizers and drawers.
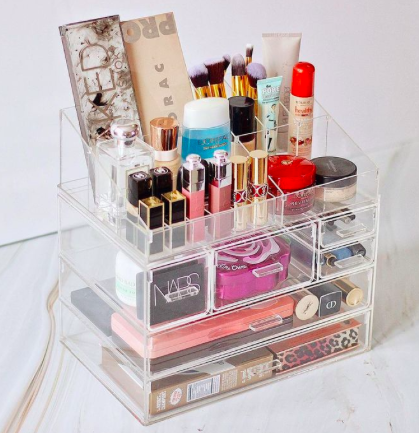
Acrylic Organizer 1:
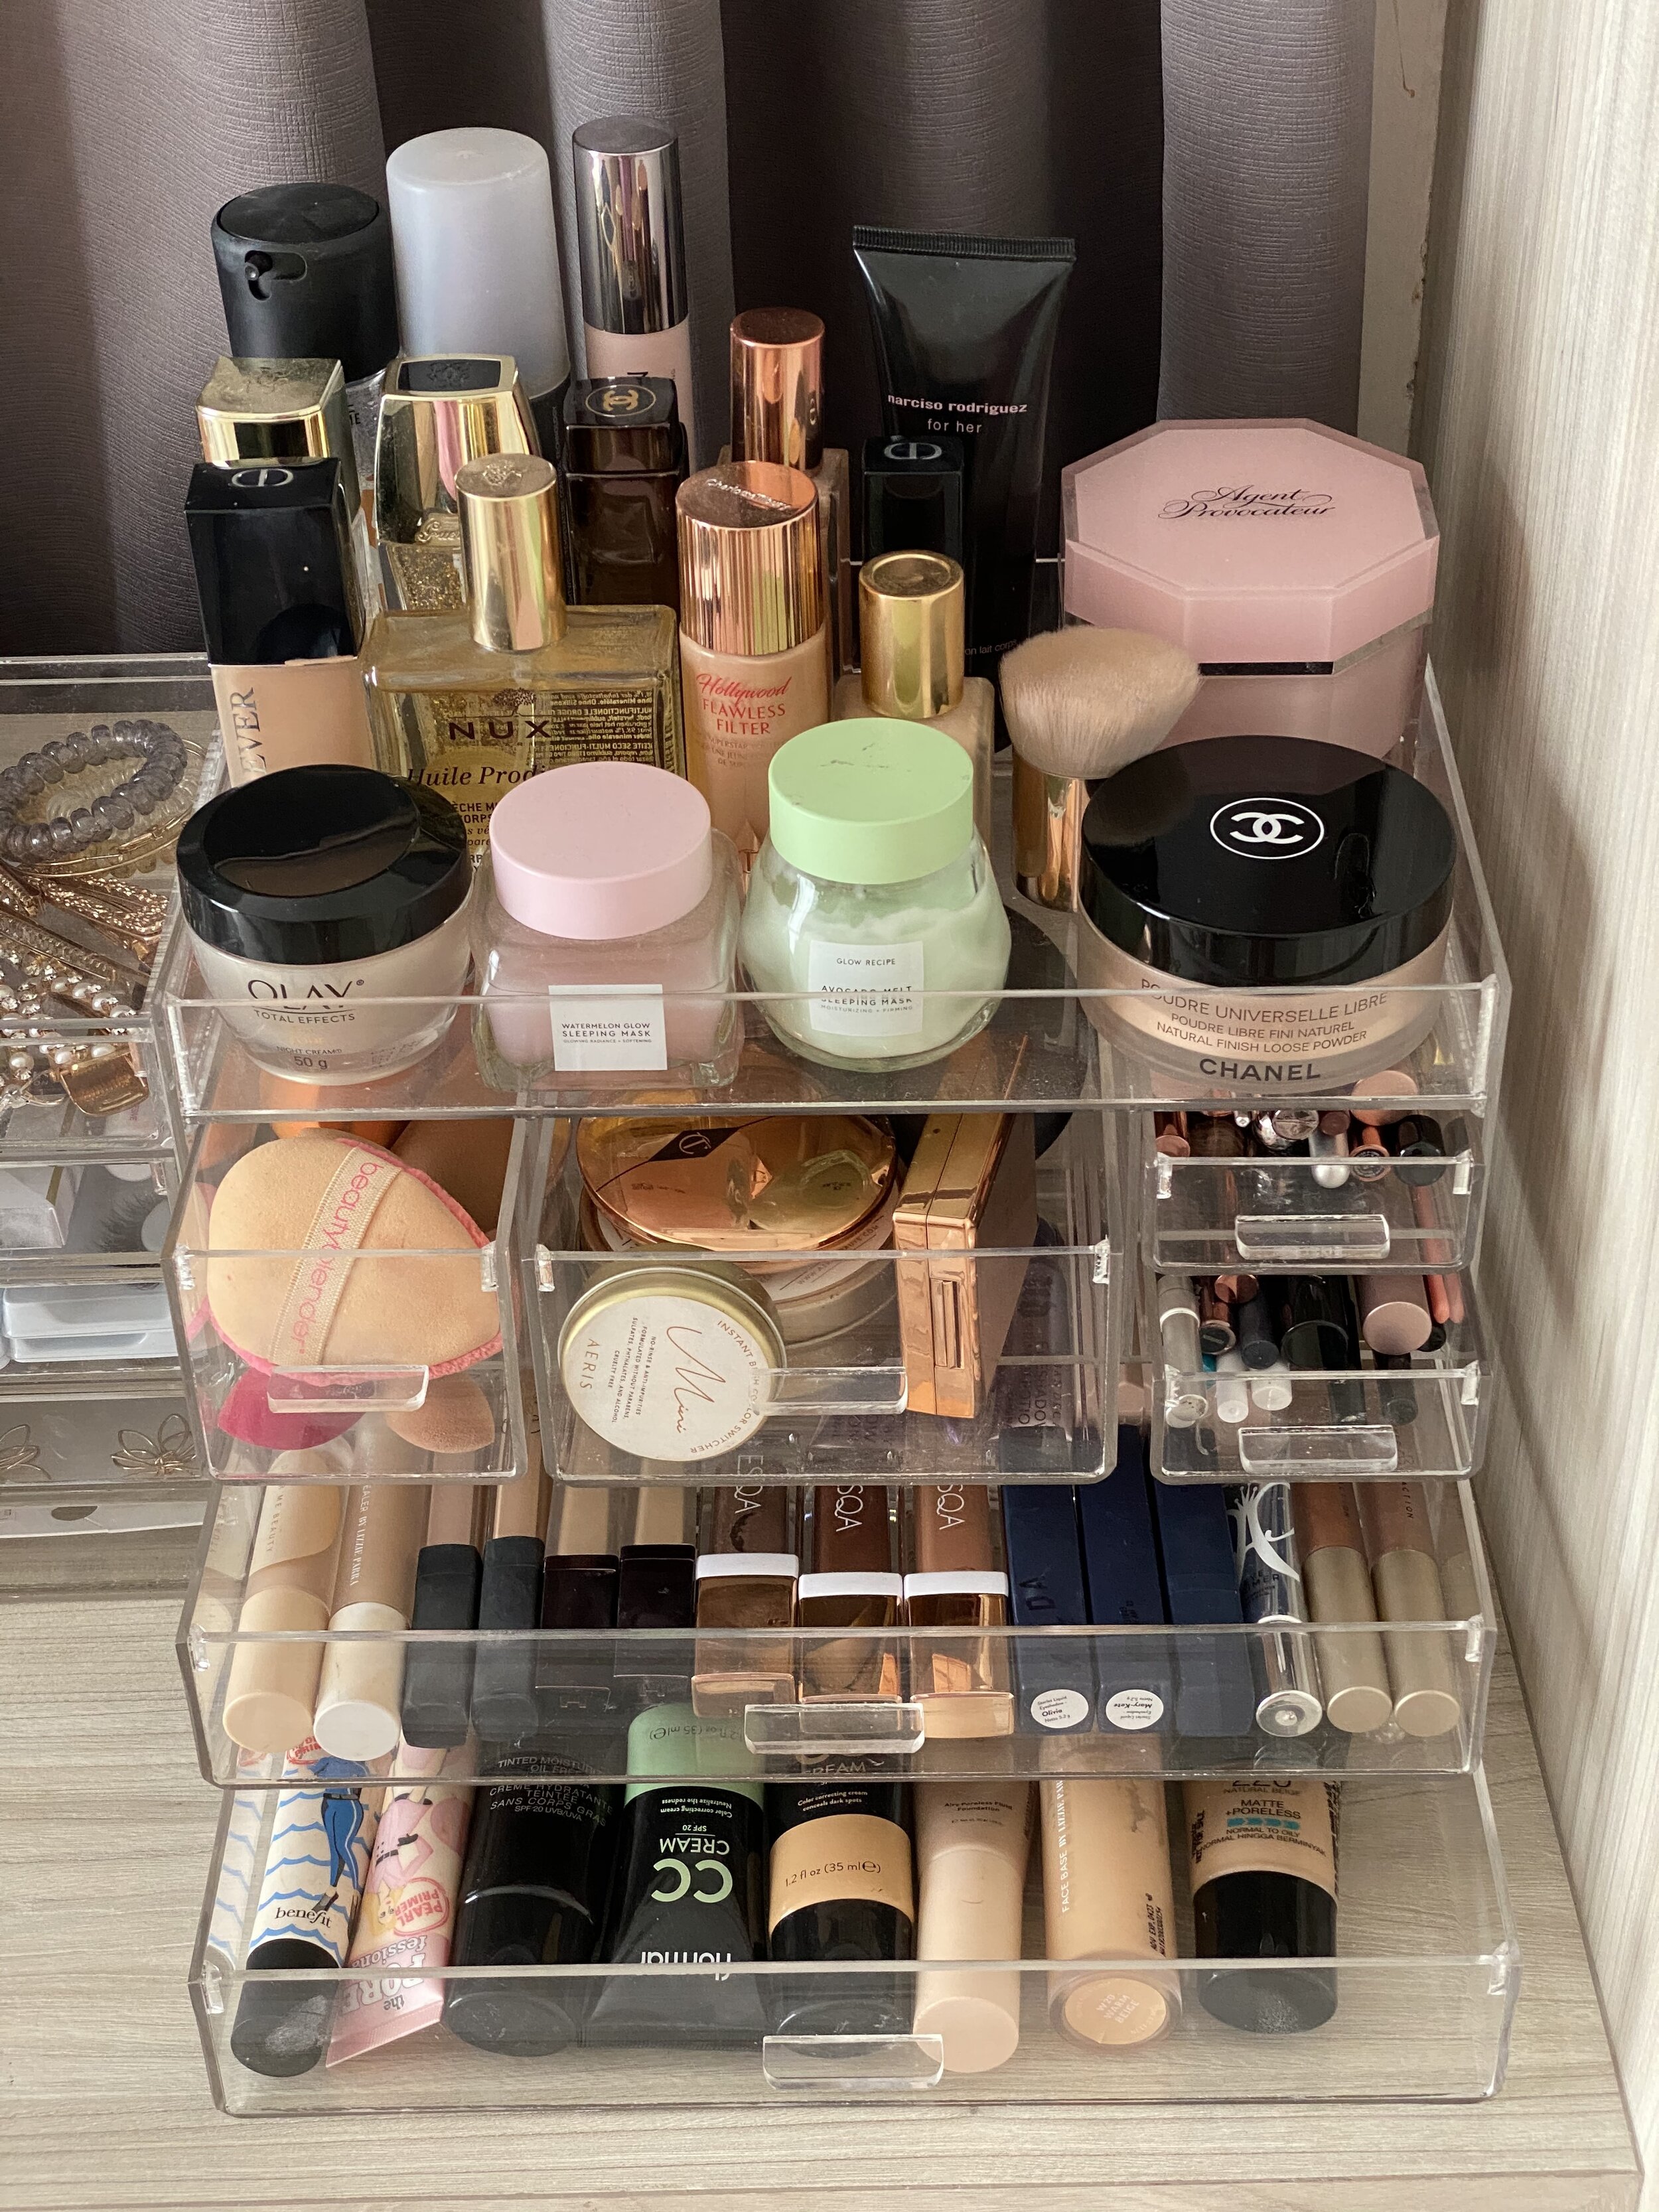
On the very top I have my face products that I use on a regular basis such as moisturizer, sleeping masks, foundations, primers, setting sprays, loose powder etc.
On the first layer, I house my beauty sponges on the left, other face powders and misc items such as brush cleaner and a brow wax in the middle, and an array of eye pencils/liners/brow pencils in the drawers in the right.
On the second layer, I have my concealers, liquid eyeshadows, single eyeshadows and eyeshadow primers.
On the bottom drawer, I have other face primers, correcting creams, tinted moisturisers and foundations.
Acrylic Organizer 2:
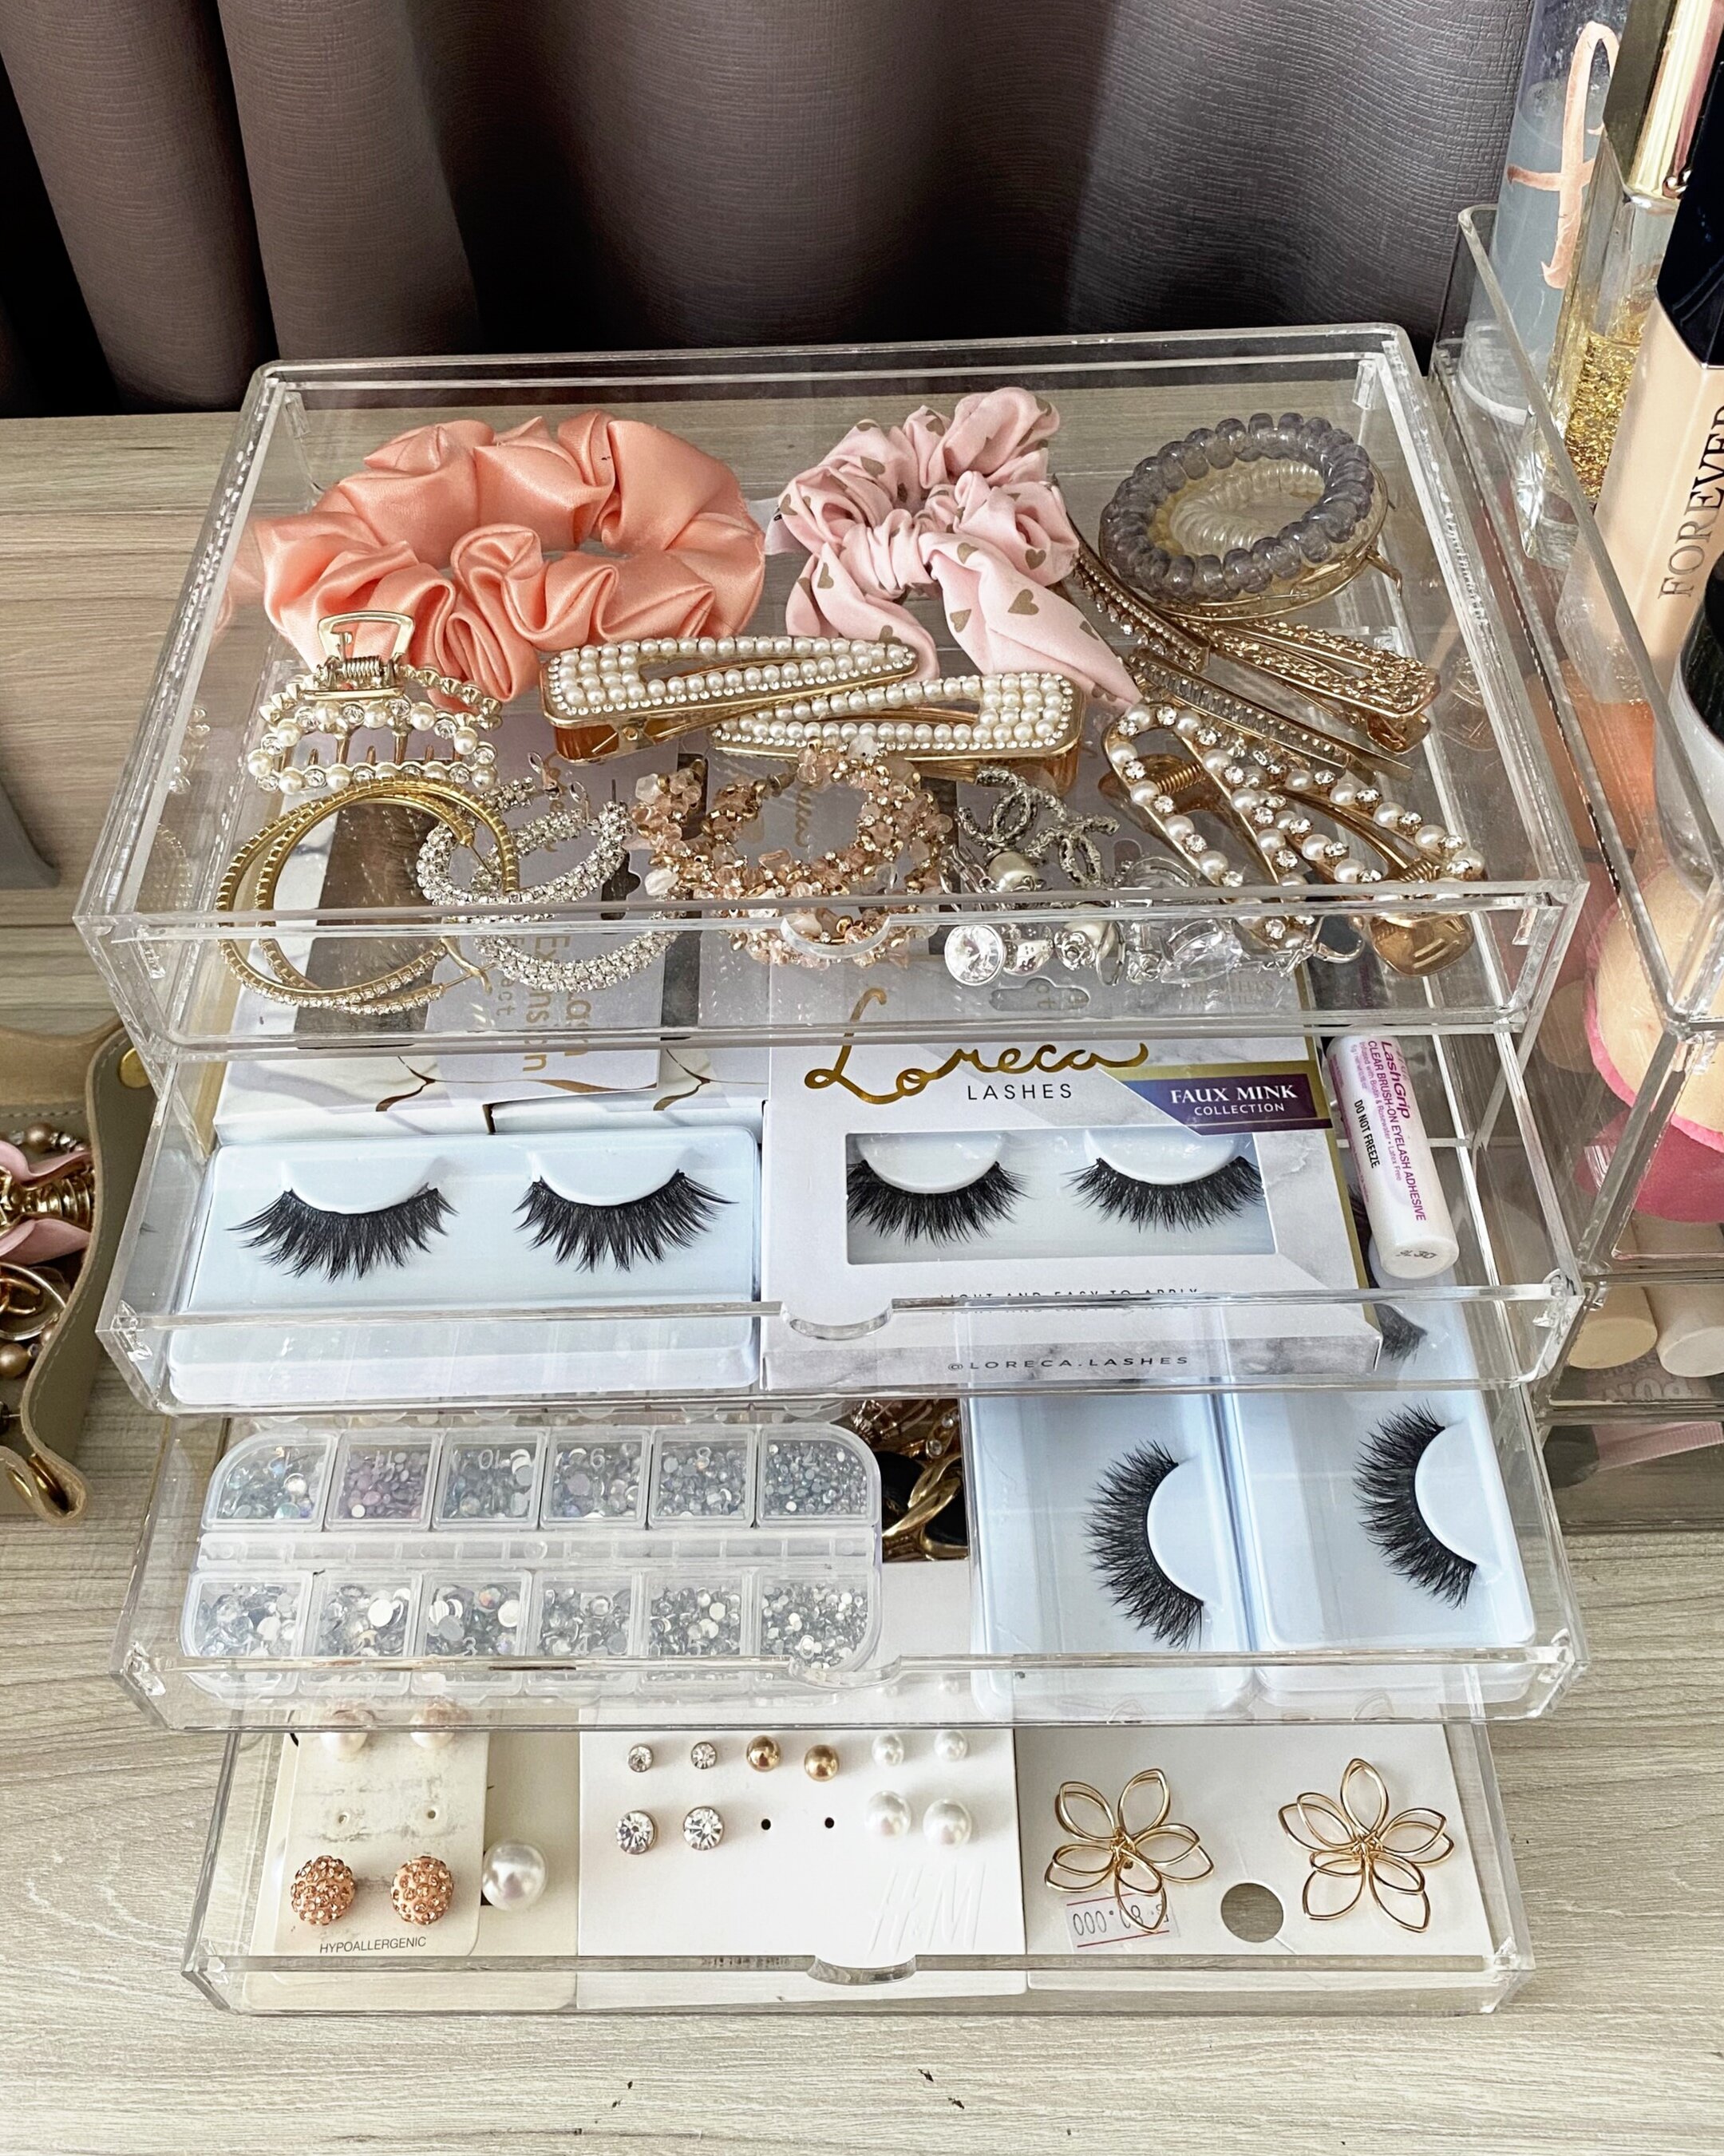
This acrylic organizer houses my false eyelashes, a variety of fashion jewellery, hair accessories and rhinestones etc. that supplement my makeup looks and creativity.
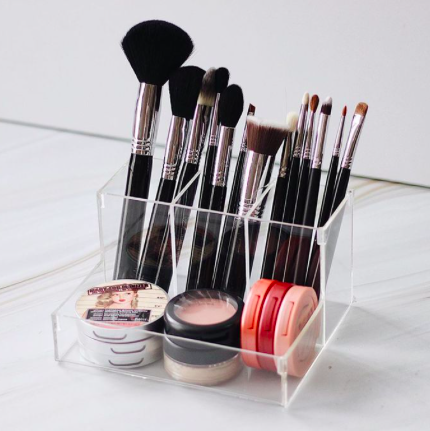
Makeup Brushes

I’ve a couple of cute crystallized makeup holders to house my brushes, as well as a sectioned acrylic organizer. My favorite way to store makeup brushes is upright in this fashion because it helps them to last longer. It also looks great on the table. Just don’t forget to regularly clean them. Currently I sort the makeup brushes by brand, but I may start sorting them by use so it’s easier to find them rather than digging through each brush.
Stackable Drawers
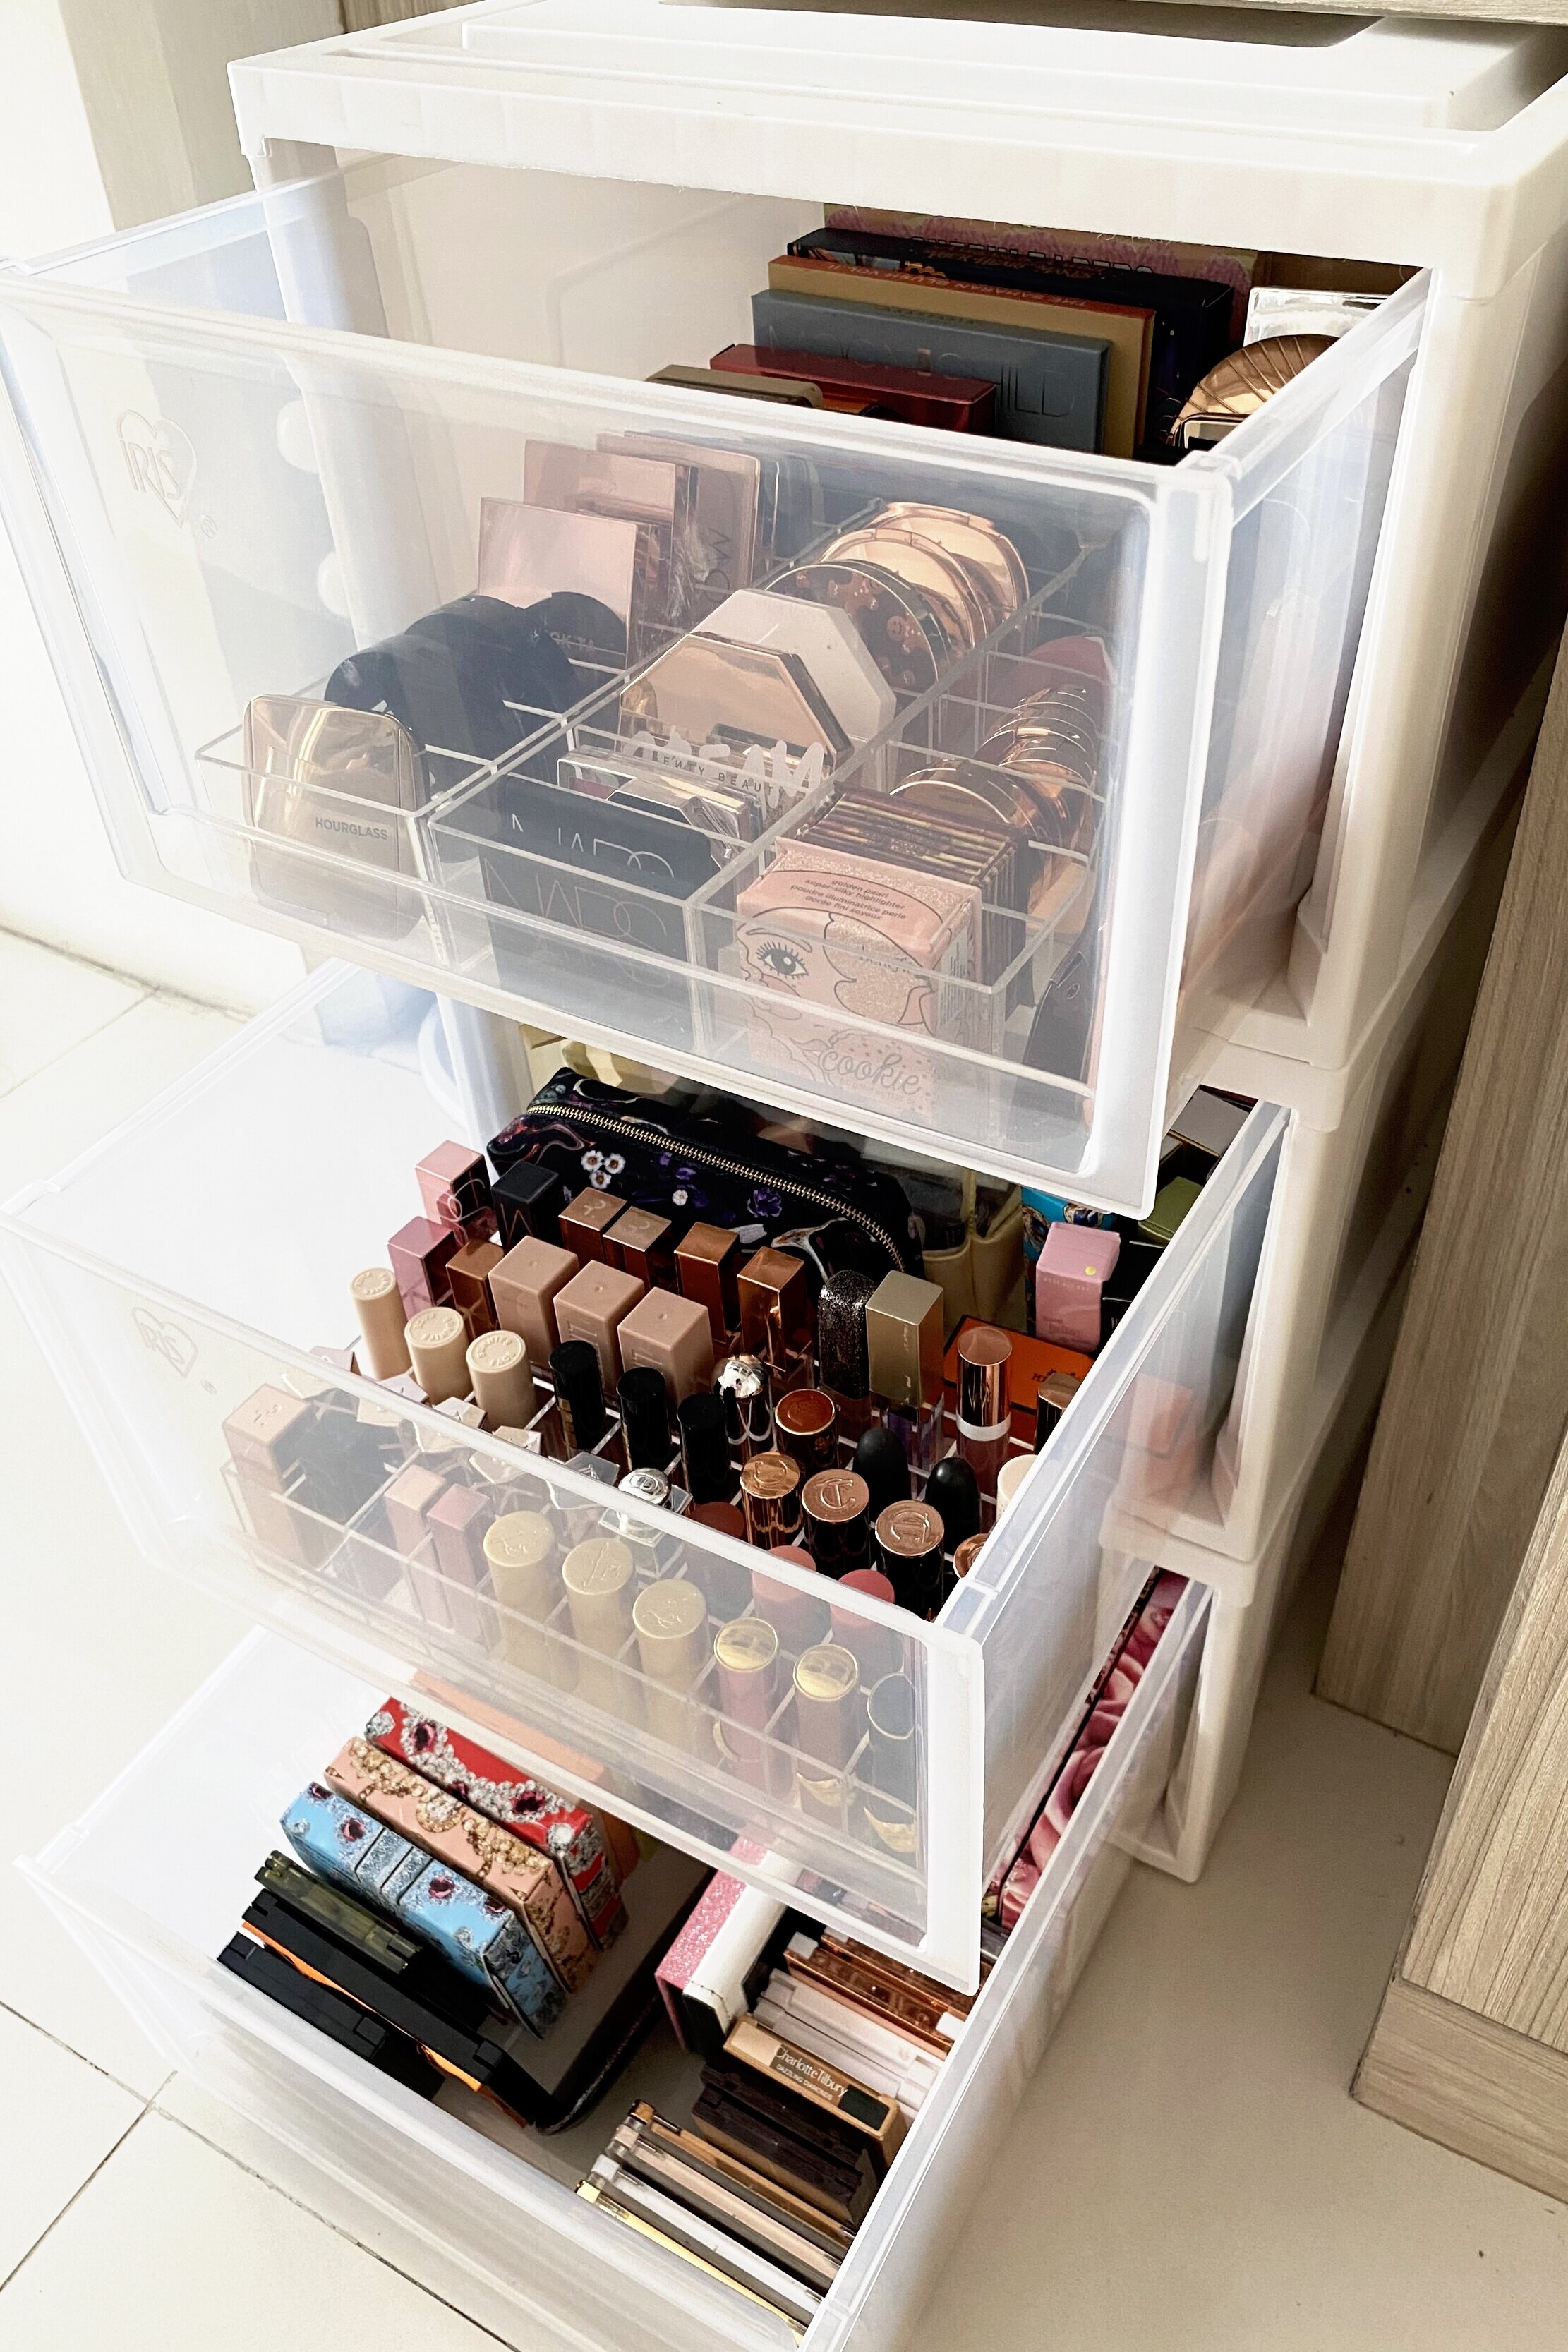
Stackable Drawer 1

My top drawer consists of my face palettes, and cheek products such as bronzers, blushes, and highlighters.
Stackable Drawer 2

My middle drawer consists of all my lip products. Those that can’t fit in the acrylic holder I place in pouches. The ones in pouches are mostly glosses and lip liners.
Stackable Drawer 3

And finally the last drawer houses my beloved eyeshadow palettes. After quite a declutter, I’m quite happy they could all fit happily in this drawer. Currently I just stack them side by side, but eventually I’d like to also have separators for them so it’ll be easier to take them out and put them back in. But for now, this works.
And here’s what it all looks like together!

My little beauty corner, and happy place. I hope you enjoyed today’s post and find my makeup organization tips and ideas helpful.
With a little bit of time and effort you can easily get your makeup collection organized, which will save so much time, hassle, and stress when getting ready everyday. What’s your favorite way to organize makeup? Let me know in the comments!